CLIx Implementation
- Implementation Process
- School Lab Readiness
- Teacher training and Teacher Educator preparation
- Community of Practice
- Implementation
- Introduction to Computer Lab Requirements
- Ports - Purpose
- Starting Pre - Rollout of the CLIx module
- Starting Subject module rollout
- Assessment, Monitoring & Evaluation
Implementation Process
The two key elements of CLIx implementation are School Preparation and Support: School ICT labs readiness and maintenance, meeting certain specifications of hardware and networking and functionality, installation of the CLIx platform and modules and School timetable scheduling to enable students to use the ICT lab regularly and ongoing technical support to teachers/schools such as maintenance of labs, technical troubleshooting etc.
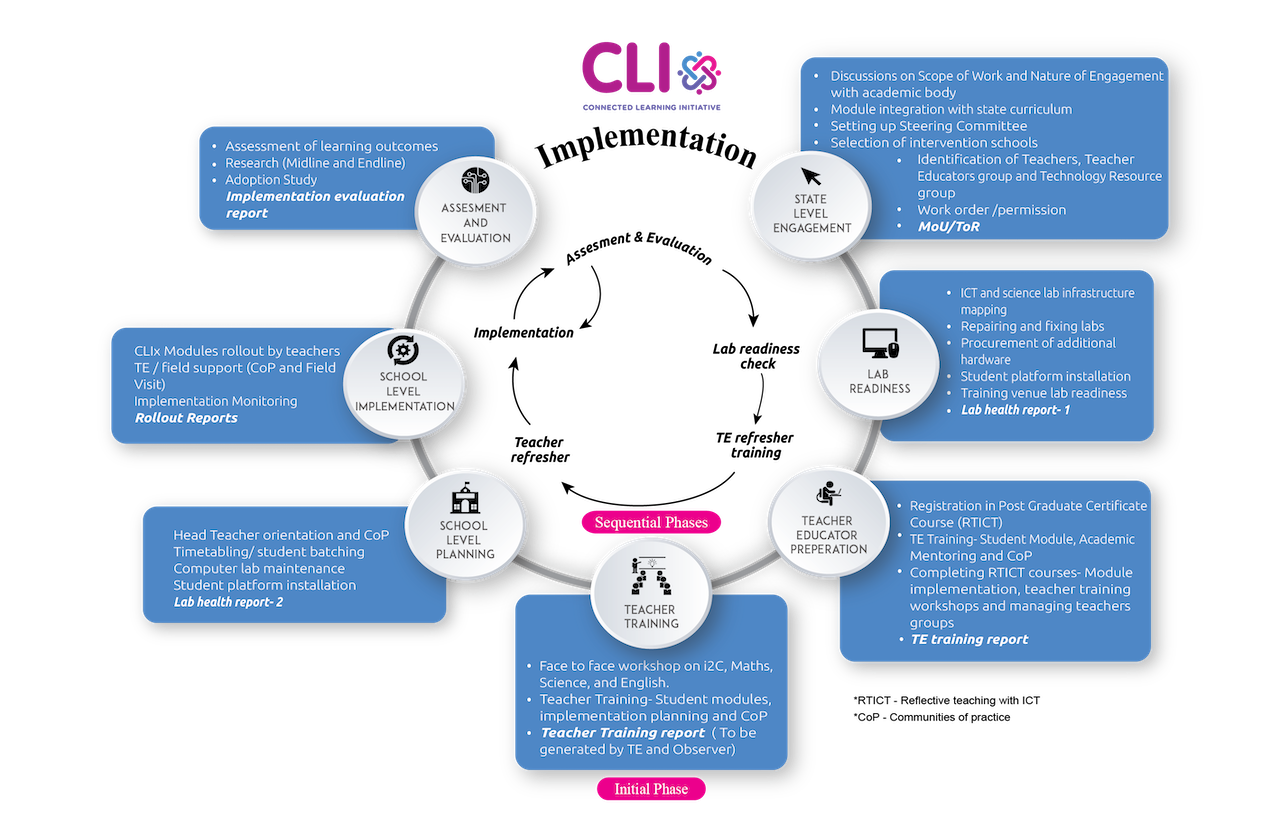
Fig: Implementation Process
The detailed implementation process is outlined below:-
- School Lab Readiness
- Teacher Training and Teacher Educator Preparation
- School Level Preparation(New name needs to think of, seems confusing with the readiness)
- Community of Practice
- School Level Implementation
- Assessment, Monitoring and Evaluation
School Lab Readiness
1. School computer and science lab infrastructure mapping
-
- Identification of schools where intervention needs to take place to be carried on in consultation with the District Education Office.
- School mapping tool to be made in consultation with the research team which includes the components of Lab availability and infrastructure, Teacher professional development details etc.
- Release of orders from SCERT/DEO for the visit to schools to carry out school mapping activity.
- Create a suggestive list for the procurement of the materials post mapping activity.
- Purchase & procurement
- A suggestive list of the materials to be shared with the SCERT/SSA to insist state authority to purchase and procure the items.
- To chalk out another strategy in the case, the state delays the procurement of the items through other funding agencies.
- To keep checks and balances of procurement of items received by vendors through different SOPs for maintaining quality and efficiency.
- Disbursement of the items at various intervention sites with the help of external vendors.
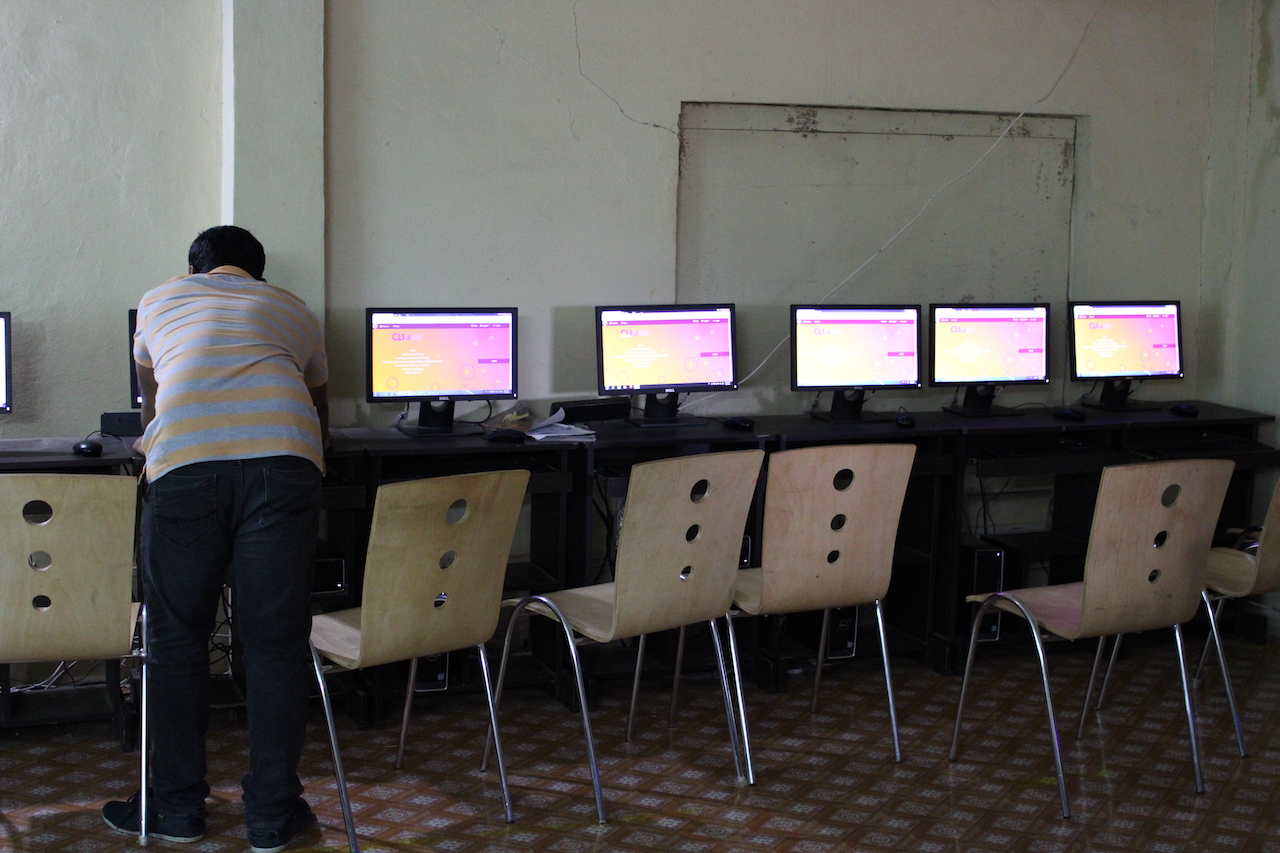
- Computer lab readiness and Installation of CLIx modules in school
Teacher training and Teacher Educator preparation
1. Identification of Subject wise teachers
- In consultation with the state and TPD team, a concept note to be prepared for inviting the interested teachers.
- In case the number of interested teachers is too many, screening of the teachers need to take place.
- An acknowledgment of the selection of teacher educators to be sent through the implementation team in consultation with the state.
2. Face to face workshops Planning (Click here for more details)
- Coordination with state government officials and confirm the available dates for teacher training with formal approval.
- Coordination with the Training Centres and lock the dates
- Communicating the dates to all concerned persons including teachers, headteachers through DEO/SCERT
- Communicating the dates to the resource persons for their preparation(TPD Team, Domain teams, Technology team)
The requirements for the workshop needs to be chalked out in discussion with all the teams. The broad requirements are hereby provided:-
1. Technology Requirements:
- According to the number of workshop participants, preferably the lab must have a 1:1 Teacher: Device ratio. But if it is difficult, 2:1 Teacher: Device ratio can be managed if the lab can accommodate participants with some space for movement.
- The devices (computers) must be in good working condition with Ubuntu (preferably) or Windows OS.
- The devices (computers) must be ready with Chrome 49+ installed.
- Good Internet connection for the devices(computers)
- A projector must be present
- Proper sound system with mic must be present
Note - The technology requirements have to be met and made sure by the implementation team. If it couldn’t be met, the technology team has to suggest alternatives. The project management team will support the implementation team for the arrangements.
2. Stationary Requirements
- Whiteboard with board markers
- Chart papers, sketch pens, pencils, erasers, scissors, cellophane tapes, stapler, stapler pins, post-it’s, name tags, A4 papers, etc.
- Attendance sheets
- Brochures, posters, etc.
- State board textbooks
3. Furniture Requirements
- Chairs, Teacher tables
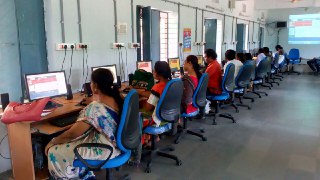
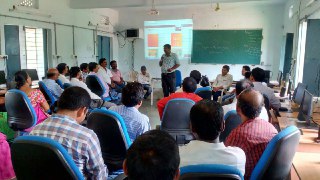
Fig: Teacher training session in Telangana
Note 1 - The furniture requirements will be arranged by the training center in coordination with the implementation team.
Note 2 - Domain-specific material Requirements will be managed by the domain teams in coordination with the implementation team and project management team.
Note 3 - Any free classroom/ science lab/ work area to do hands-on activities if required by the domain teams, it should be arranged by the training center in coordination with the implementation team.
Community of Practice
- Academic support for Teachers
- Continuous online interaction of teachers with experts and peers
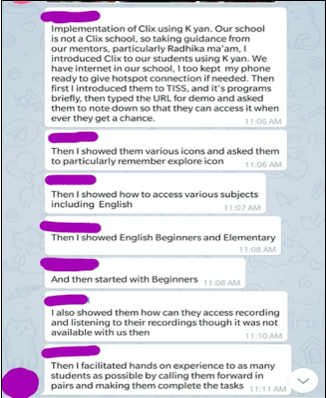 Fig: English domain teacher CoP group
Managing CoP Groups
- Responding to Teachers
- On a daily basis, teachers' queries will be answered on all the COP teacher telegram groups and TE groups.
- Weekly basis unanswered queries will be answered or directed to the COP manager.
- Unattended queries will be redirected to COP Manager for follow up.
- Posting about local news and events
- Find out about state-run programs, local events and news related to education, scanning through local newspapers and newsletters and post in a timely manner on the CoPs
- Posting announcements and monthly newsletter
- Circulating Central, State and/or CLIx newsletters in the telegram groups on a monthly basis featuring the week’s best reading on engagement, latest engagements- related research, and lists of upcoming events, workshops, etc.
- Video messages by the field team will be circulated on a monthly basis in the telegram groups.
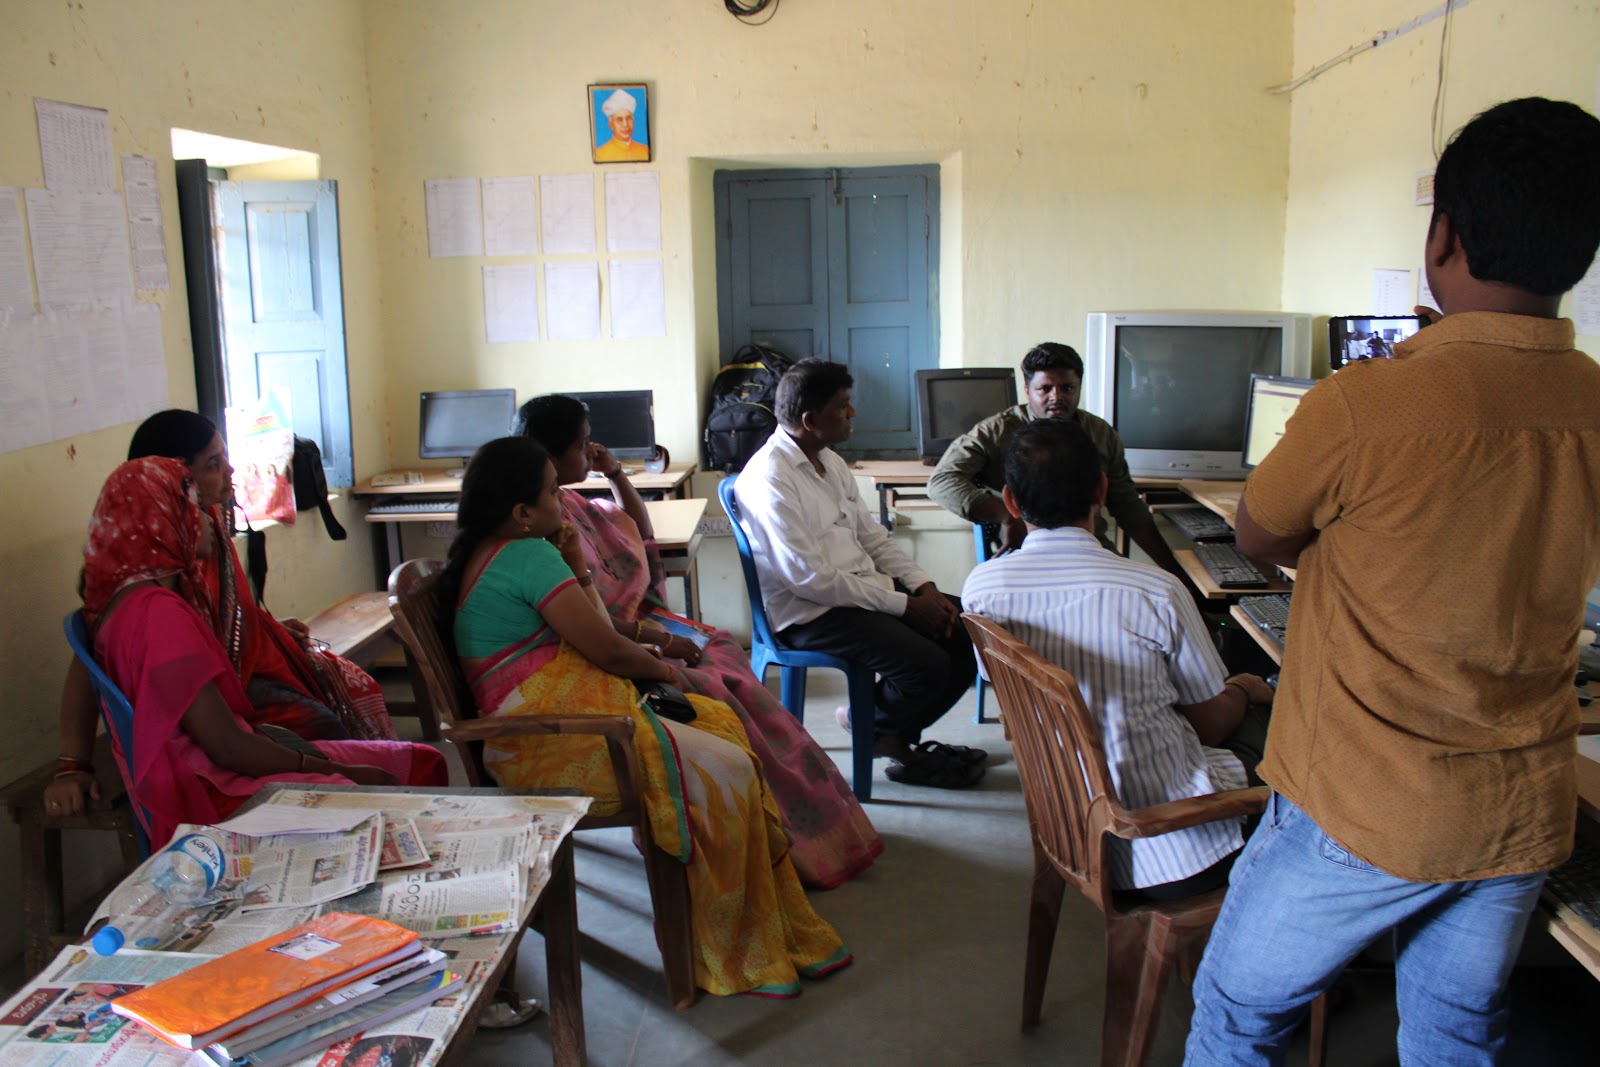
- Posting during school visits
- Feedback will be taken from the school headmasters and teachers during school visits and this will be updated on internal team groups.
- Field team members must share photographs and a brief description of their school visit, description of the external field visitor/organization and purpose should be mentioned on all the state CoP groups within two days of the school visit,
- Members visiting the schools should take permission from the headmaster for taking photographs.
- The photographs of school visits shared should include ICT labs, students working on the computers, teachers facilitating the subject, etc.
- Supporting Teacher Educator for the transaction of modules
Implementation
There can be three approaches for the implementation at school level:-
- Separate workshops for teachers and students -
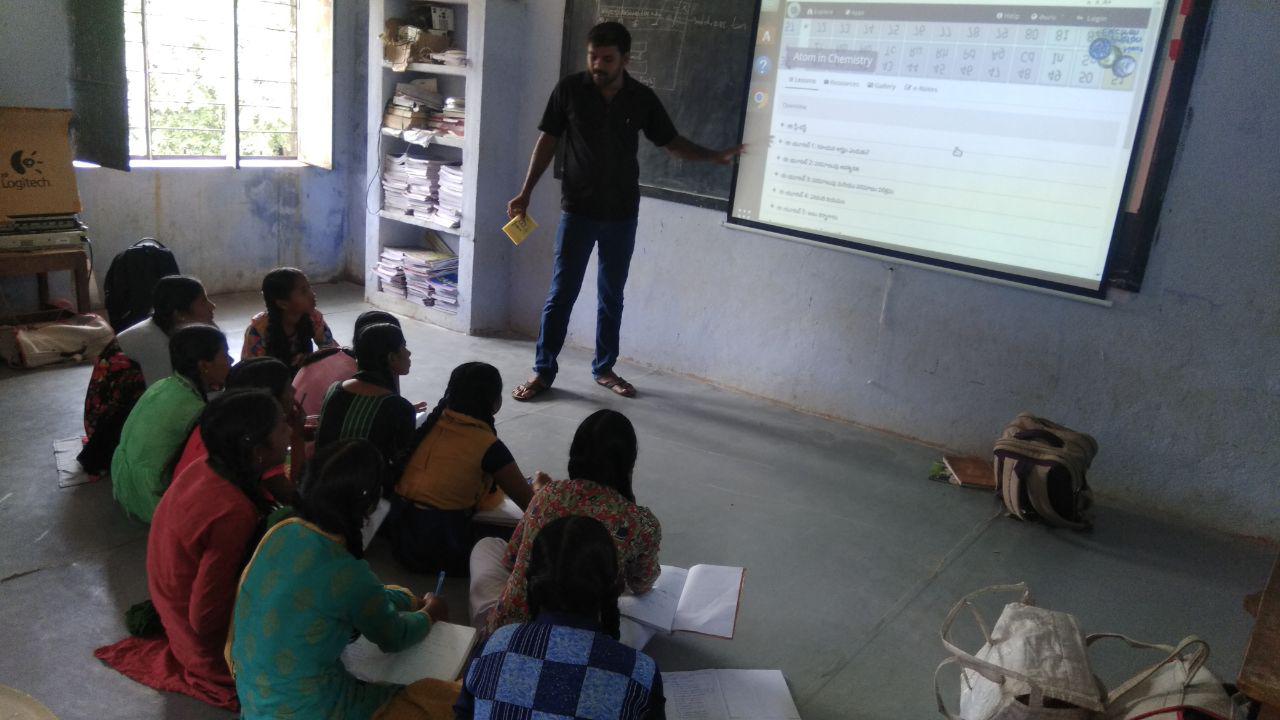
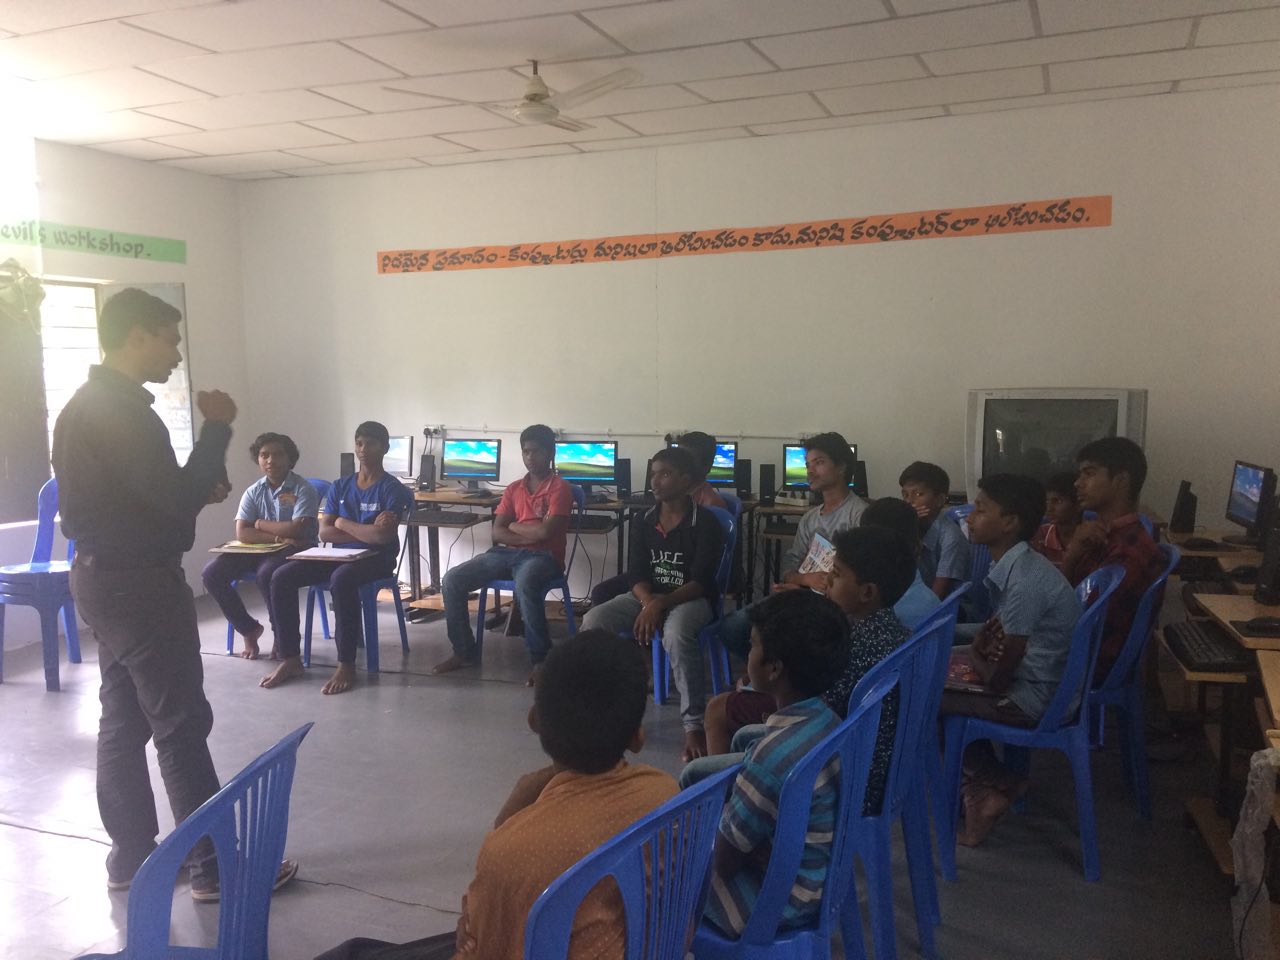
- Combined workshop for students and teachers. - An overall CLIx platform and module orientation followed by their queries concerns and clearing the doubts. This ideally should be the case if at least one CLIx teacher is present consistently in that school for a long time.
- Hands-on training - Teachers and students together exploring the modules after a brief introduction to the platform and modules.
We can follow any of the approaches but still have to follow certain steps which are specified as below:-
- Fixing prior appointments with Headmaster of the school and concerned CLIx teachers.
- Going to school, orienting Headmaster and Teachers.
| Heading to the ICT/ Computer Lab.+ gathering the teachers & students |
|
Discussing the following agenda:
|
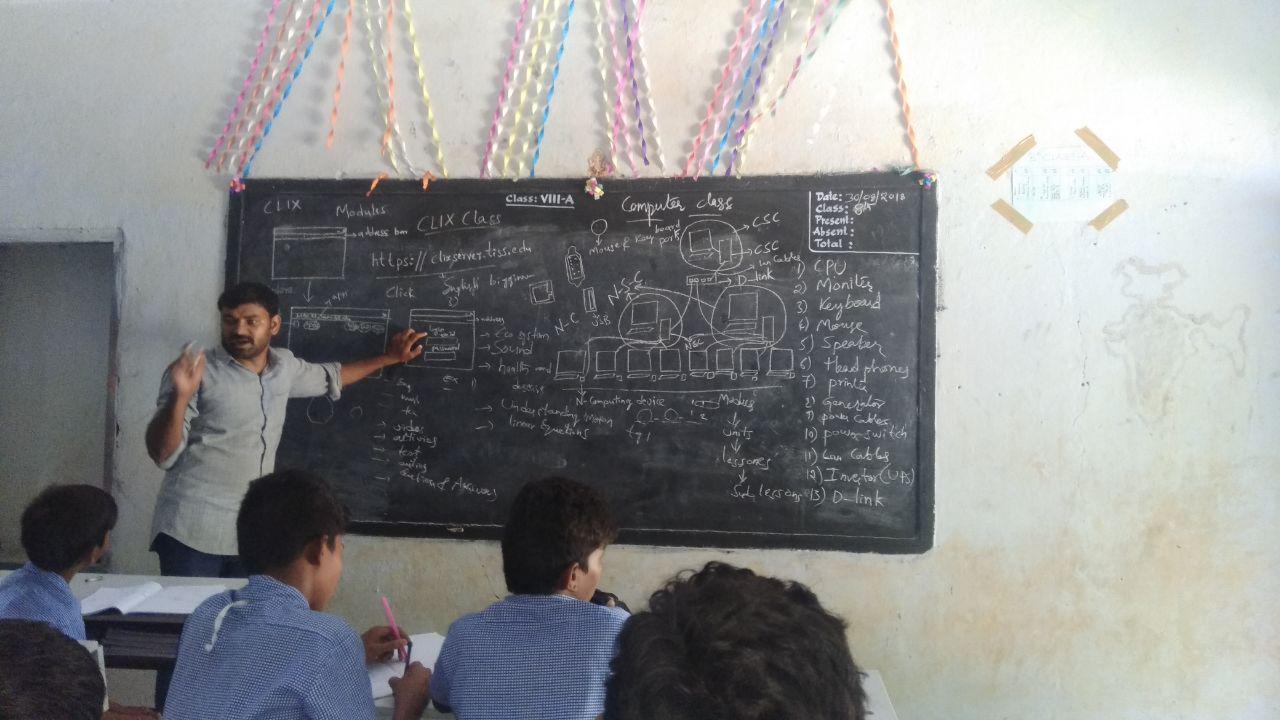
Introduction to Computer Lab Requirements
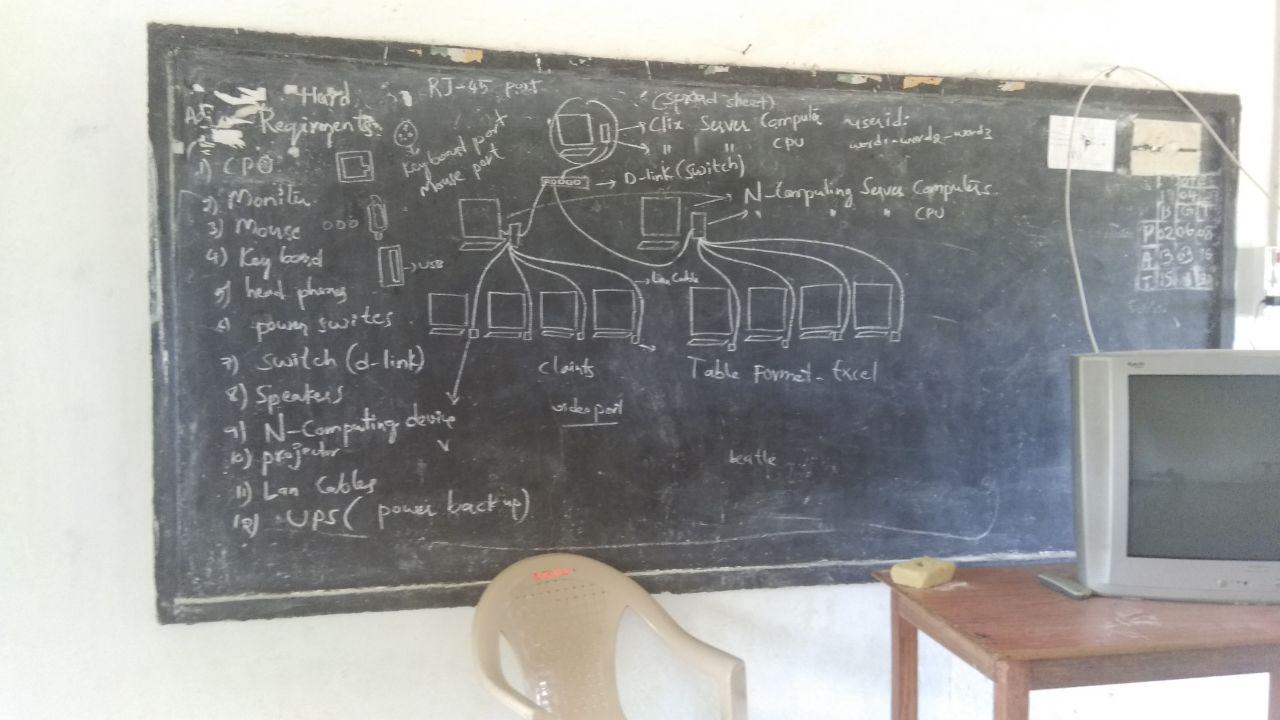
Ports - Purpose
(Credits: Explaining about LAN connections and giving theoretical notes.)
-
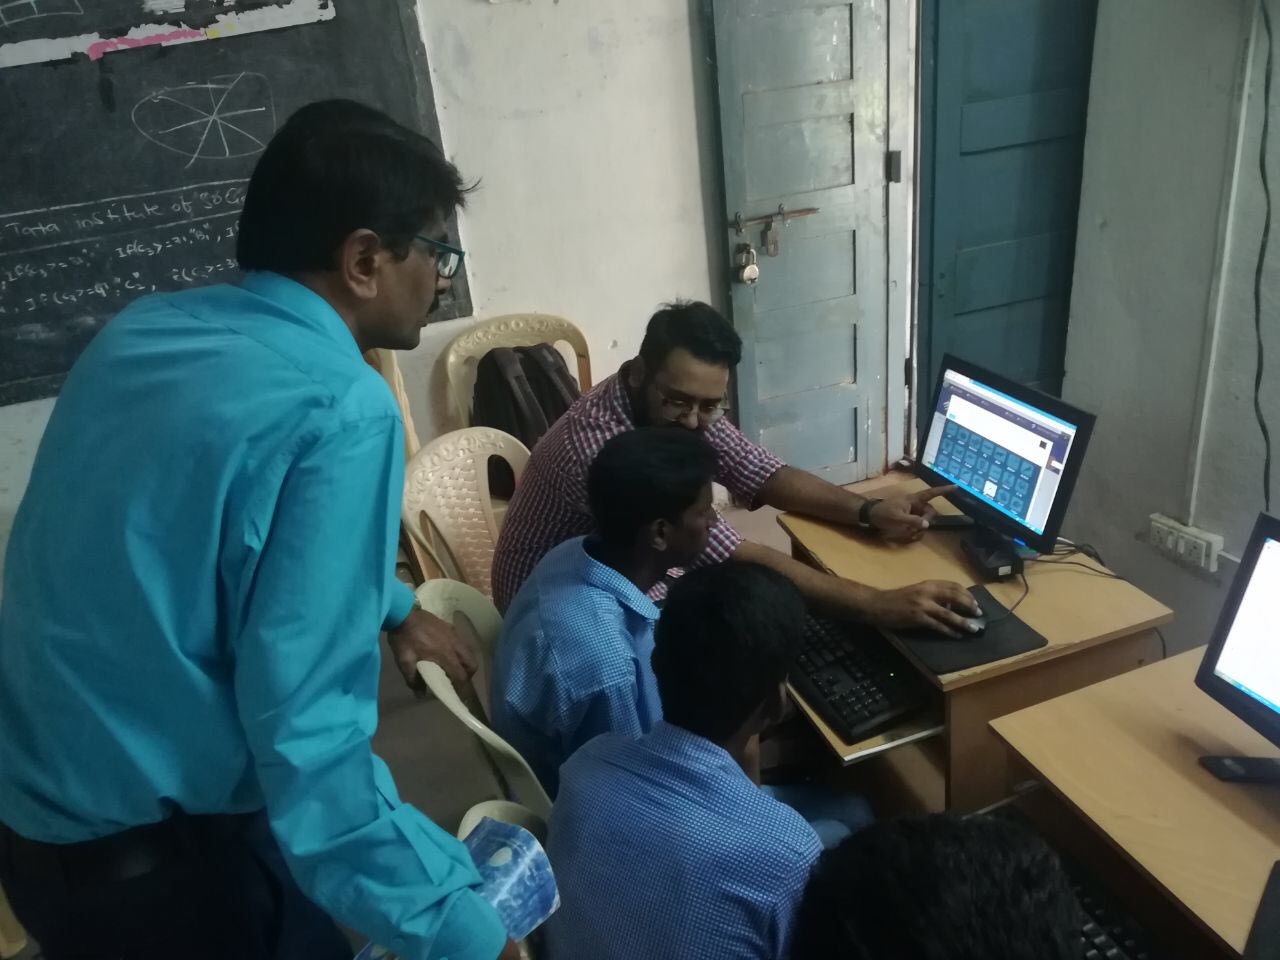
Internet: Explaining and hands-on training to the student leaders and also the students present in the lab.
-
Explaining the importance of batching during rollout to teacherss and students.
Starting Pre - Rollout of the CLIx module


Starting Subject module rollout

Assessment, Monitoring & Evaluation
The implementation monitoring tool was designed to capture the state of implementation and adoption of the CLIx program in schools over a period of time. A monitoring framework enables us to:
- Track the extent to which the CLIx intervention has been implemented in schools, districts, and states.
- Make evidence-based decisions for course corrections to strengthen the intervention
- Conduct research on impact in schools with varying levels of implementation or adoption
- Provide information to the states so they can plan actions accordingly.
- Provide data to stakeholders, thus increasing their participation as well as providing transparency and accountability for the project
- Create a model of the processes and trajectories of implementation at scale in diverse field contexts.
(An Image of the process of the IMT needs to be added)
- Data Collection - Every time a CLIx member visits the particular school.
- Analysis of the Data - Following data collection for each school, a visualization of the state of implementation/adoption to be created from the scores received in each of the five areas using the macros that will be provided to them. Areas of concern will be flagged, so that field resource personnel are alerted to issues that may need immediate attention. The data can be aggregated at the school, district, or state level to enable reporting to appropriate stakeholders.
- Technical support and Lab Maintenance
- Extent of implementation
- Teacher Professional Development
- Shifts in beliefs and pedagogic practices of teachers